How to Make a Voiceover-Driven Video: Script, VO, Timed Sequence
Most "add a voiceover" tutorials assume you already have a finished video and are dubbing over it. This guide is about the opposite: voiceover-first video, where the narration exists before the visuals and drives the entire edit. Explainers, video essays, documentaries over archival footage, faceless channels and training videos all work this way.
The upside of working VO-first is that your audio is a precise timeline from the start. Every sentence has a start and an end, which means every visual can be planned, numbered and placed deterministically. This post walks the workflow end to end: script, record, transcribe, plan visuals, assemble, finish.
In this guide
- What "voiceover-driven" means
- Step 0: write the script for the ear
- Step 1: record the voiceover
- Step 2: turn narration into a timed form
- Step 3: plan visuals against the text
- Step 4: assemble
- Step 5: pace, polish, publish
- Common mistakes
- A worked example
- FAQ
What "voiceover-driven" means
In a voiceover-driven video, narration is the spine and visuals serve the sentence. That's the reverse of footage-led editing, where you cut pictures first and add narration to explain them. As Leadde's video-essay guide frames it, the strongest creators "think visually while writing": the script and the pictures are designed together.
VO-first has three practical advantages:
- Timing is fixed early. Once the voiceover is recorded, the video's length and rhythm are known.
- Visuals can be planned, not hunted. Each sentence carries a visual brief.
- The edit becomes mostly mechanical. Placing 60 visuals against 60 sentences is a mapping, not a creative act.
Guides for B-roll editing, such as Captions and Riverside, likewise recommend cutting the voice (the A-roll) first and layering B-roll on top.
Step 0: write the script for the ear
Written prose sounds stiff when spoken. Leadde's example: "Historically speaking, one may reasonably conclude…" becomes "Here's what changed." Read every line aloud.
Treat sentence length as an editing unit. In a VO-driven video each sentence tends to get one visual, so very long sentences (which force a visual to sit for 15 seconds) and fragments (which flash by) both hurt pacing. Aim for sentences that take roughly 3 to 8 seconds to say, and vary them on purpose.
Pacing math helps. A common benchmark is about 160 spoken words per minute, so a 5-minute video is roughly 800 words.
Write the script as a two-column table, one row per sentence: what you say on the left, what we see on the right. That table becomes your shot list in Step 3.
Step 1: record the voiceover
Gear and room
You don't need a studio. You need a quiet, soft room (a closet or a corner with blankets and cushions beats a bare office) and a decent microphone, such as a USB condenser or dynamic mic, placed a hand-span from your mouth with a pop filter. Documentary-voiceover guides like Cliptude's stress clean audio above fancy visuals.
Levels, noise and takes
- Record at 24-bit, 48 kHz.
- Keep peaks well below clipping. You can raise level later; you can't undo distortion.
- Record a few seconds of "room tone" at the start.
- Leave a clear pause between sentences. These pauses become clean sentence boundaries when you transcribe, which makes alignment accurate.
- Do pickups for mistakes instead of restarting.
AI and text-to-speech voices
Synthetic voices are acceptable for many projects, but make it a deliberate choice. YouTube requires you to disclose AI-generated or altered content that seems realistic, such as making a real person appear to say something they didn't, so don't clone someone's voice without permission. A clearly synthetic narrator reading your own script is a different case from a realistic fake, but read the policy and decide honestly. Many viewers also simply prefer a human voice, and audio quality matters.
Export the final narration as a single audio file. WAV or FLAC is ideal.
A pre-flight checklist before you hit record
- Script read aloud once, with every stumble rewritten.
- Sentences between roughly 3 and 8 seconds when spoken, with a few deliberate short ones for punch.
- Phone on silent, fans and fridges off, windows closed.
- A test recording played back on headphones: check for hiss, plosives and room echo.
- A plan for pickups: say "pickup" and the sentence number before re-reading a line, so you can find it later.
- File names that include the video title and take number.
Five minutes of this saves far more time than any plugin fixes later.
Step 2: turn the narration into a timed form
The voiceover is the timeline, so the next job is to put timestamps on its sentences. That's what a transcript in SRT format does. Per the Library of Congress, each block has a number, a start and end time, and text. If you get one block per sentence, you have a list of slots, each with an exact start time and length. (We go deeper in How to Turn an SRT File Into a Video Timeline.)
You can generate the SRT in several ways: FCP's own caption generation (Apple silicon, U.S. English only), a cloud transcription service, or on-device transcription. MatchCut FCP uses whisper.cpp to transcribe on your Mac, so audio isn't uploaded, and splits the result into sentence blocks.
Step 3: plan visuals against the text
Now the right-hand column of your script becomes real files. For each sentence, decide the visual: a clip, a screenshot, a chart, archival footage, a title card. Collect them and name them in order, with zero-padded numbers:
001_hook_spreadsheet.mp4
002_calendar_flip.mov
003_council_archive.png
…
Number from 001, leave no gaps, and use a single sequence for clips and stills. This naming is the contract that makes the next step automatic. The full rules are in How to Align B-Roll and Images to a Voiceover Automatically.
Ask of each visual: does it show what the narrator just said? B-roll should carry the story, not decorate it.
Step 4: assemble the sequence
You've recorded the VO. Now you need to get 50-plus visuals onto a timeline, each timed to its line.
Manual placement in Final Cut Pro
Put the voiceover on the primary storyline, mark sentence boundaries, attach each visual as a connected clip and trim it to the next marker. It's precise and free. It's also around two edits per sentence. See the r/finalcutpro discussion for how editors do it.
Ordered folder to FCPXML with MatchCut FCP
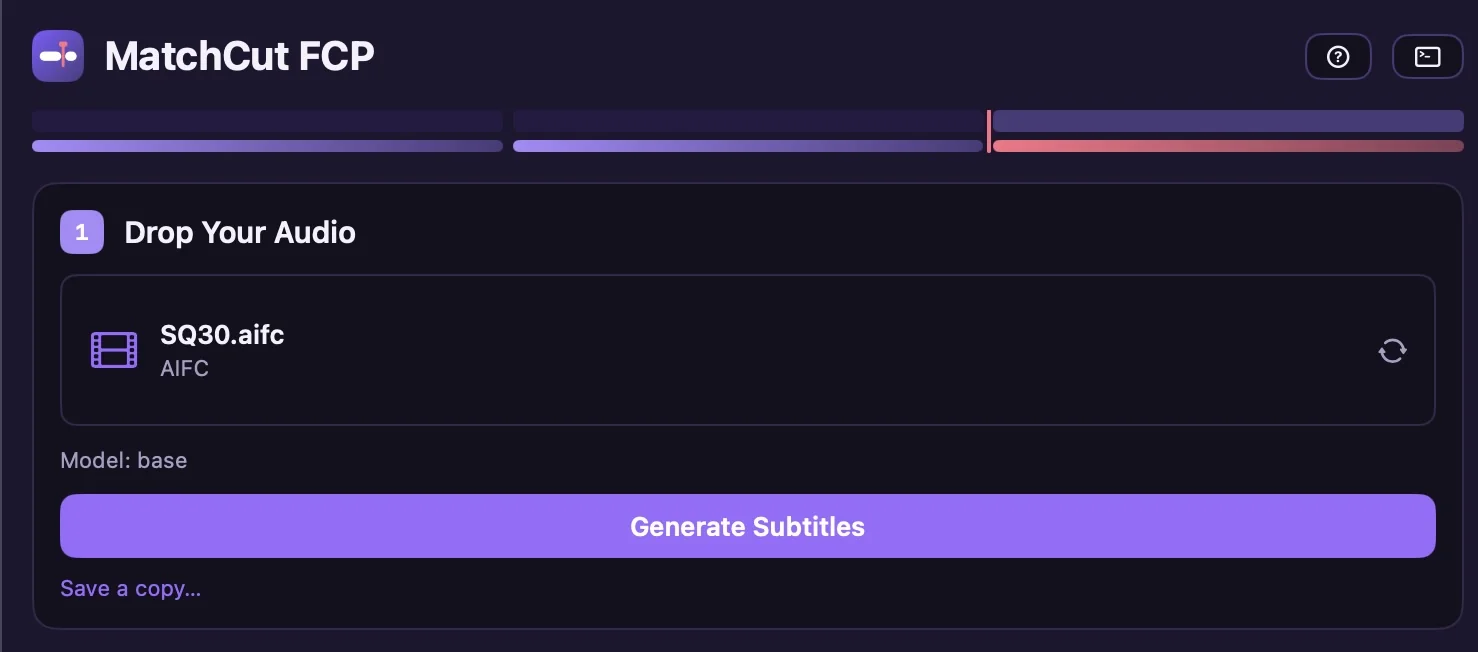
- Drop the voiceover and select Generate Subtitles.
- Drag in the numbered folder.
- Select Export FCP XML.
- In Final Cut Pro, choose File → Import → XML.
Each asset appears at its sentence's start and holds until the next sentence begins, with no gaps. Pairing is strict one-to-one, so the number of sentences must match the number of assets. If they don't, the app blocks the export (with an optional override) and you fix the SRT or the folder. The help article covers each step. MatchCut needs Final Cut Pro 10.5+ on an Apple Silicon Mac, and it doesn't generate footage, voices or scripts.
Download the beta and try it on your next narration. Subtitles and your first two exports are free.
Step 5: pace, polish, publish
With the structure locked, spend your time on what viewers feel:
- Pacing. Vary shot length. Monitor YT's retention guide describes pattern interrupts, such as a cut to B-roll, a zoom or an on-screen caption, as ways to reset attention. It also warns against over-cutting.
- Music. Add a bed under the narration and duck it 12 to 18 dB while the narrator speaks.
- On-screen text. Source cards, names and key numbers reinforce what's said.
- Captions. Reuse the SRT you already generated.
- Export. Use a YouTube preset or Master File, add chapters (a 0:00 start, at least three timestamps), and write a description with your sources.
Common mistakes
- Mismatched counts. More sentences than visuals (or vice versa) shifts everything. Count before you export.
- Sentence-length shots. If every shot runs 4 seconds on the dot, the video feels like a metronome.
- Narrating to a finished edit. Recording the voice after cutting visuals locks your pacing to your pictures instead of the story.
- Ignoring pauses. No gaps between sentences means messy boundaries and rushed cuts.
- Decorative B-roll. Visuals that don't show the line being spoken feel like a slideshow.
- Skipping the read-aloud. If you stumble over it, so will viewers.
A worked example
A 5-minute narration of about 800 words breaks into roughly 60 sentences. Here's a slice of the AV script mapped to the result:
| # | Narration | Visual | Filename | Starts at | Holds for |
|---|---|---|---|---|---|
| 1 | "In 2019, a single spreadsheet error cost a city millions." | Spreadsheet close-up | 001_hook_spreadsheet.mp4 | 0:00.0 | 3.4 s |
| 2 | "Nobody noticed for three years." | Calendar flipping | 002_calendar_flip.mov | 0:03.4 | 2.5 s |
| 3 | "Here's how it happened." | Thesis title card | 003_thesis_card.png | 0:05.9 | 3.3 s |
| … | … | … | … | … | … |
| 60 | "That's the real cost." | Outro card | 060_outro.png | 4:48.2 | 11.8 s |
(Times are illustrative.) The "Holds for" column is simply the next row's start minus this row's start. That's what an ordered-folder tool computes for you.
FAQ
Can I use an AI voice? Yes, with care. Disclose realistic synthetic content as YouTube requires, and never imitate a real person without permission.
Do I need a camera? No. Voiceover-driven video runs on stock, archival, screen recordings, graphics and your own footage.
What if my VO has no pauses? Re-record with deliberate gaps, or edit the generated SRT so sentence boundaries land where you want them.
Does MatchCut write the script or find footage? No. You bring the script, voice and media; it aligns them.
What next? Read the full video essay workflow in Final Cut Pro, or learn how to start a faceless YouTube channel with this workflow at its core. If you're deciding between tools, see MatchCut FCP vs Descript, Cutsio & Builder NLE.
Ready to try it?
Download MatchCut FCP, take the tour, or get early access for $19.
Sources
Accessed 2026-10-16.
- Leadde — How to Make a Video Essay · Monitor YT — Editing for Retention
- Captions — B-roll guide · Riverside — B-roll · Cliptude — Documentary voiceover
- Library of Congress — SRT format · ggml-org — whisper.cpp
- YouTube Help — Disclosing altered or synthetic content · Add chapters
- Reddit — r/finalcutpro: Best way to add B-Roll on top of VO?